I’ve always liked 3D printing, but the plastic we use for 3D printing isn’t very good for getting completely smooth. I decided to try making a silicone mold from my 3d print, and then casting it in resin. It worked out really well and gave me the results I wanted, so I’m sharing how I did it! As always, there is the same tutorial in video form at the bottom.
Supplies you’ll need:
– 3D printed object or an object you have on hand that you would like to copy
– Hot glue gun
– Foam core board
– Silicone (I used Smooth on Oomoo 30 and it worked perfectly)
– Something to pour your silicone and resin in, and a stir stick
– A knife. I used an x-acto knife
– Epoxy resin. I used Easy Cast, but Smooth on also makes a clear resin that dries VERY quickly (a couple minutes) and is better with dyes.
– LEDs (optional)
– Paint. I’m using a combination of nail polish, acrylic paint and Rub ‘n Buff
First thing you’re going to want to do is is make the foam core mold. Cut a square slightly larger than your object, and then hot glue walls around the object. The height of the walls should be just high enough so the silicone can cover the highest point of the object.
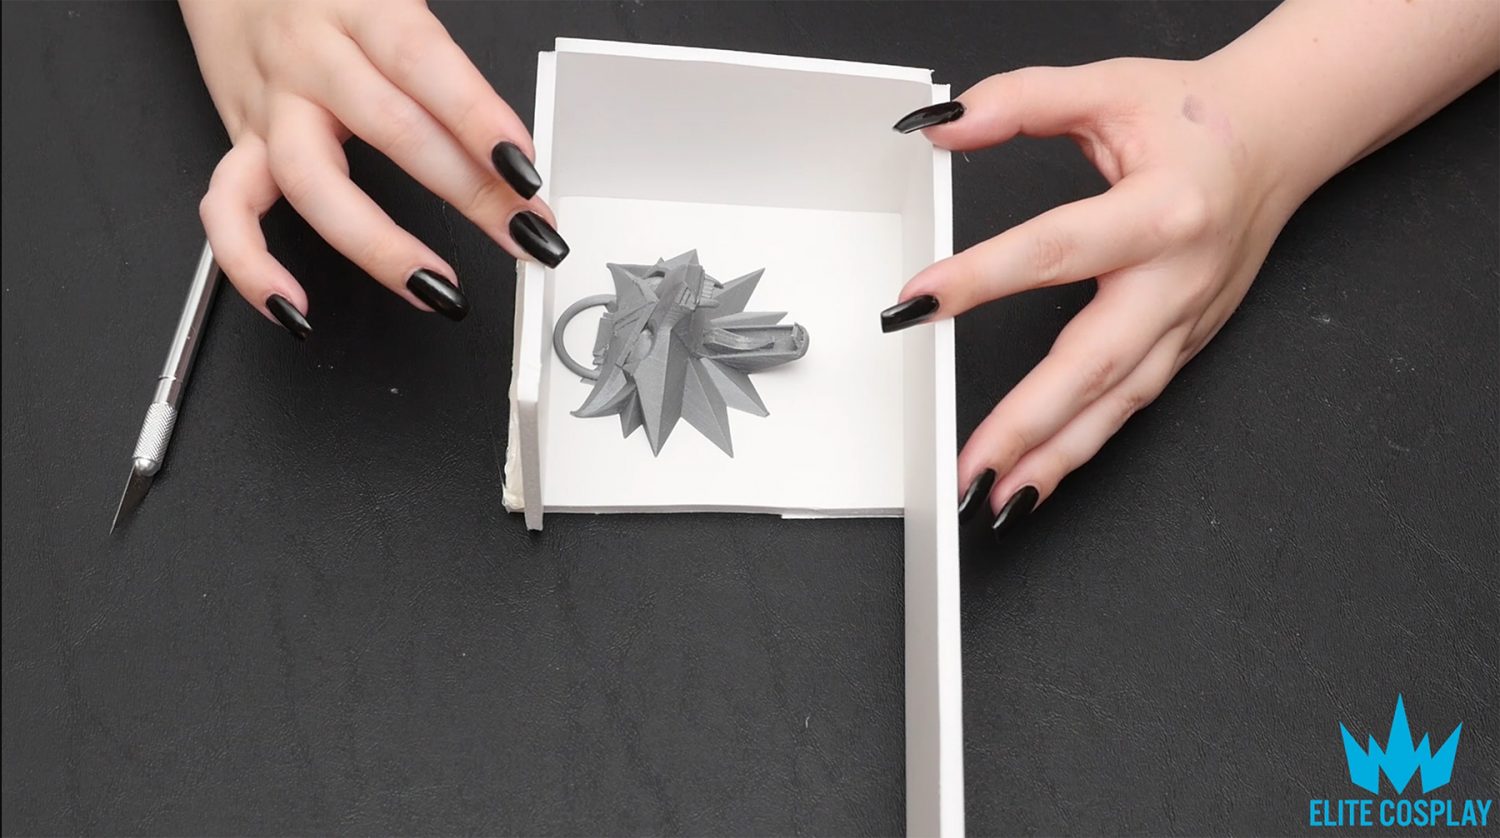
Once your foam core mold is built, it’s time to glue the object to the bottom of the foam core.

Now to mix the silicone! Oomoo 30 is 1:1 so it’s very easy to measure. Make sure to mix really well and be sure to scrape the sides of your mixing cup.

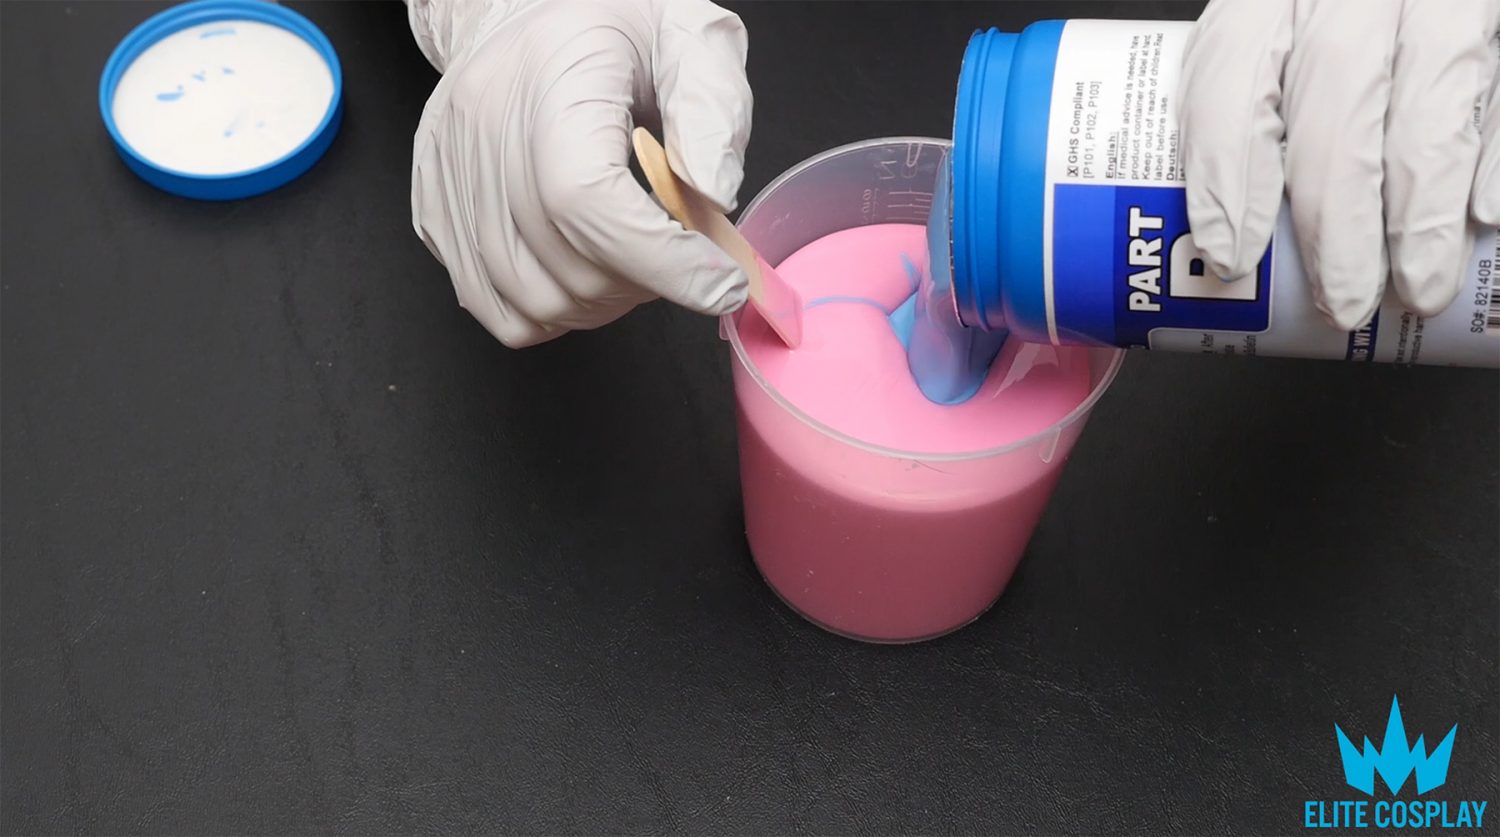
Pour over your object so it is completely covered.

I left my mold to set overnight. I do believe it dries in about 6 hours. Once your silicone mold is dry, you can rip off the foam core edges.

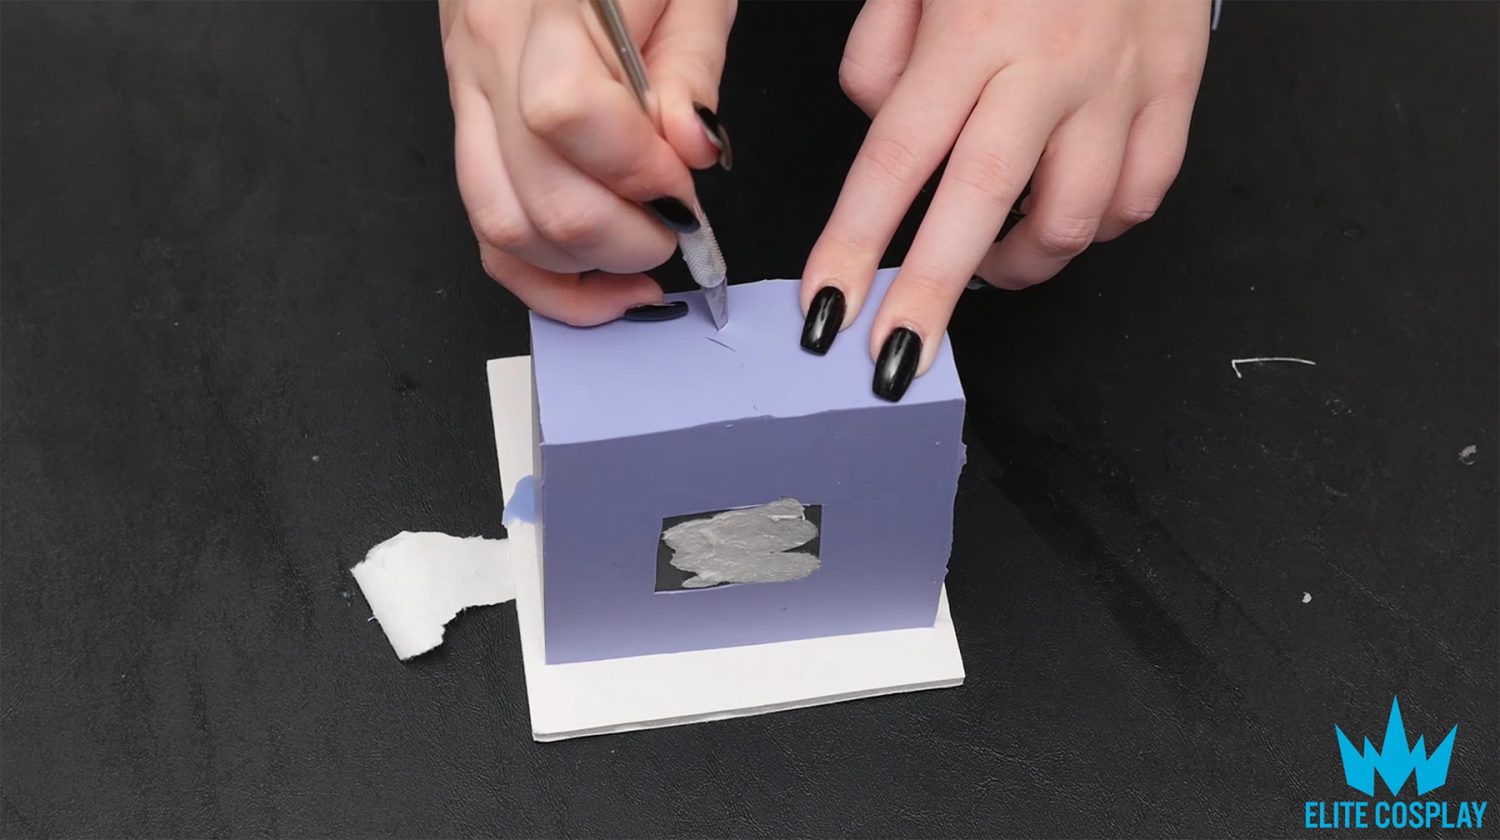
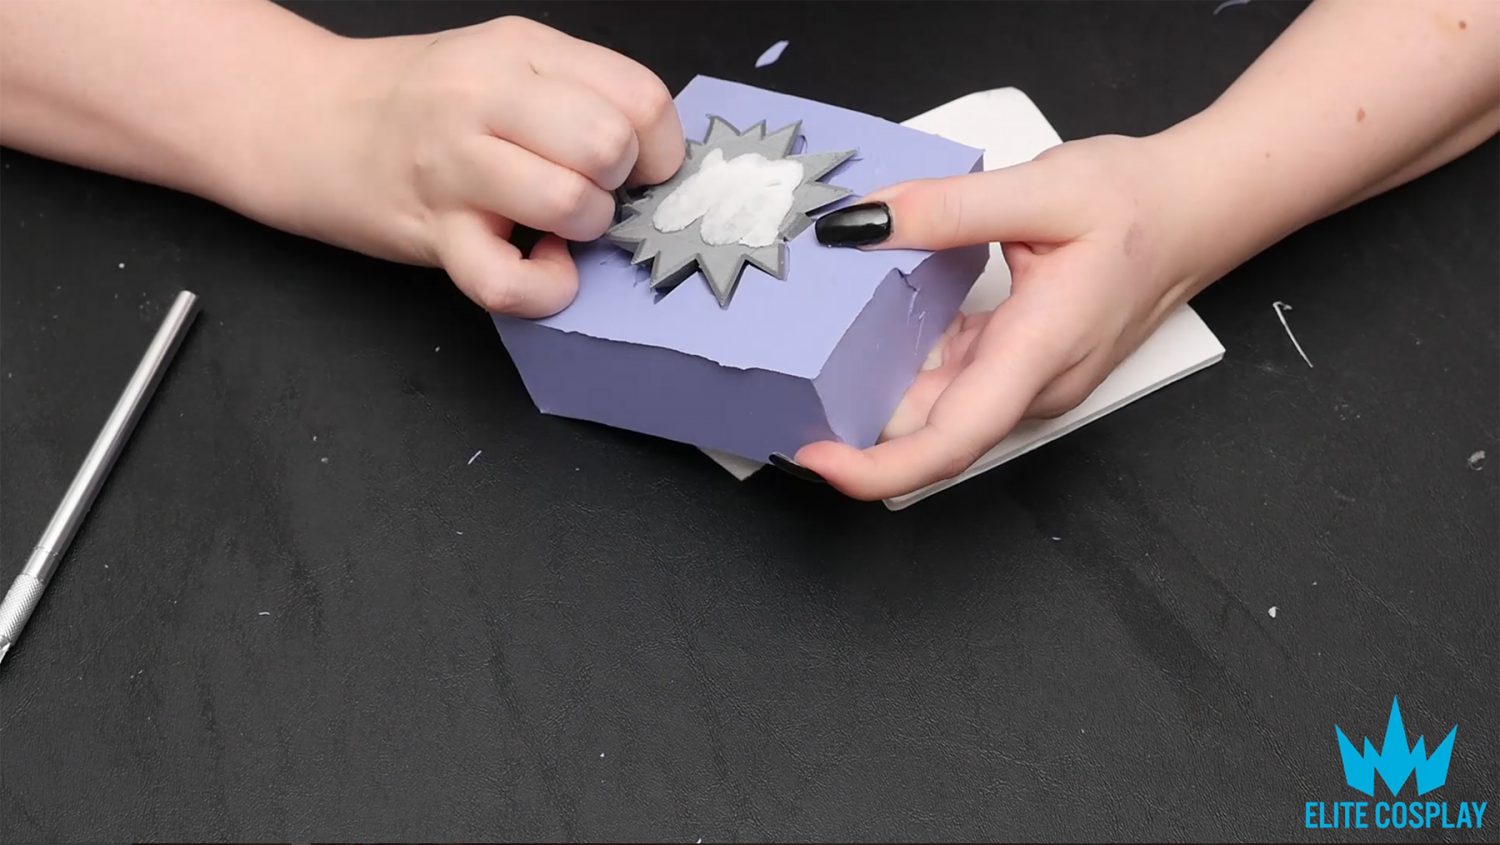
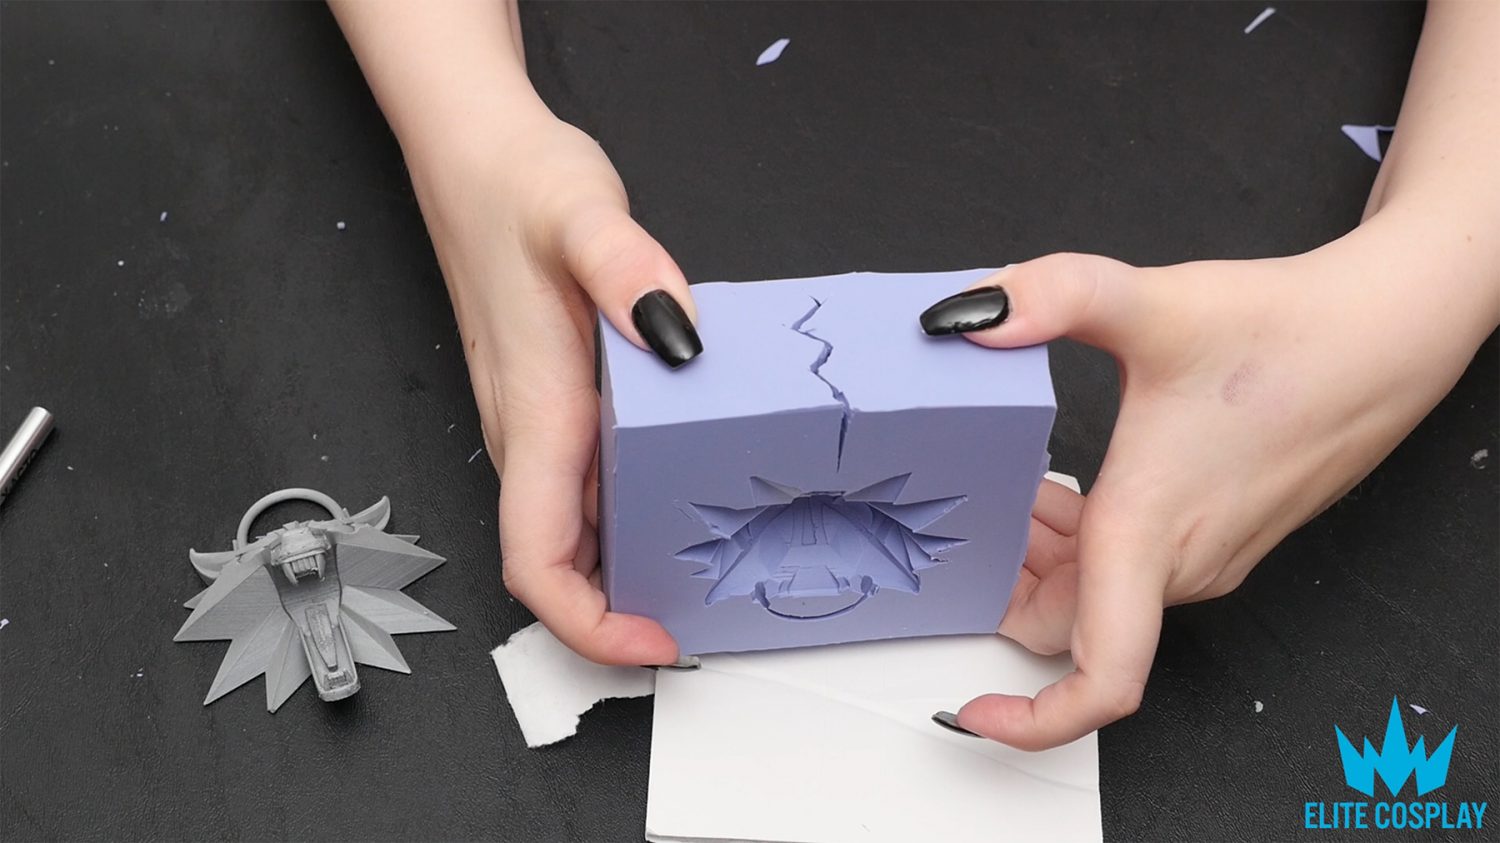
To get my 3D printed object out of the mold, I took my knife and outlined the base shape so I could push the object out easier.
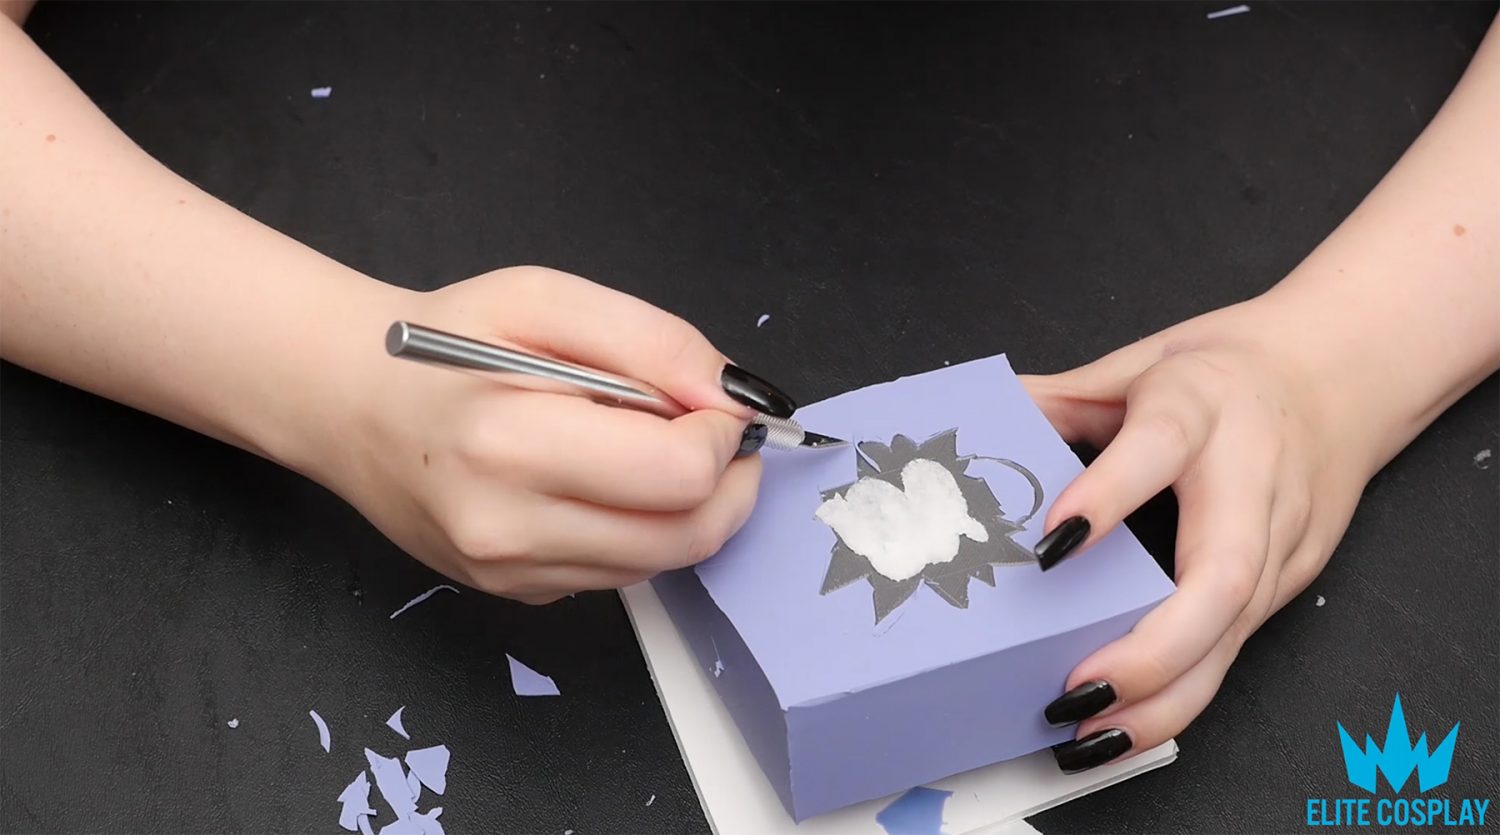
Then, I cut a zig-zag on the side of the silicone mold. The zig-zag helps with pushing the object out. I would highly suggest doing a zig-zag done the side instead of a straight line because with the zig-zag, it can fit back together much tighter than just a straight cut.
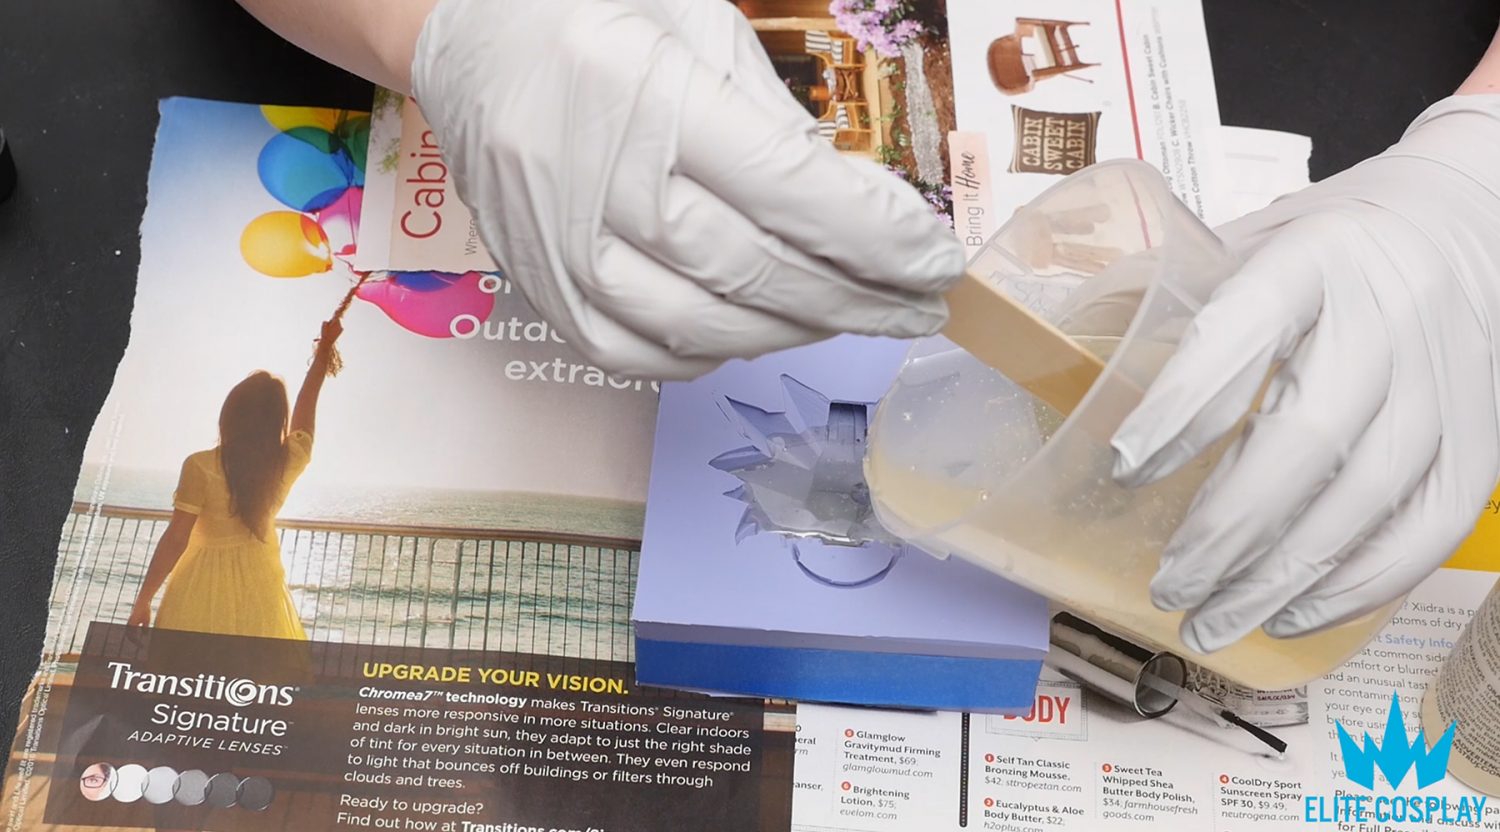
Now that your object is free and you have your mold, it’s time to mix the resin! Easy Cast is also 1:1 so measuring is easy again!

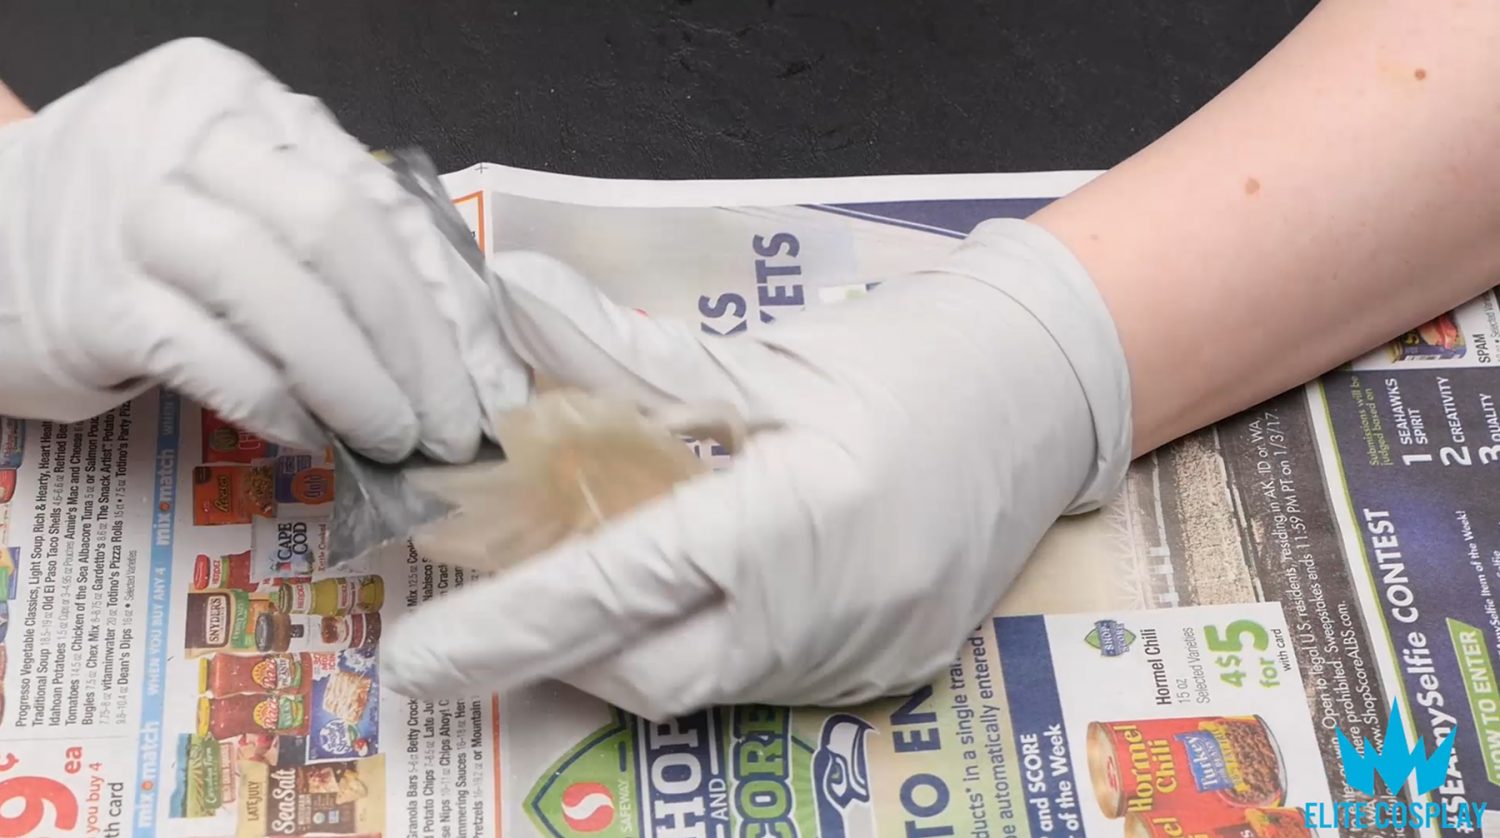
Pour the resin into your mold and make sure everything is even and completely filled.
If you want to use LEDs, wait until the resin is gummy and can hold up the LEDs. (I waited an hour before adding my LEDs.)
I waited about 24 hours for my resin to completely dry and then I gave it a nice sanding.
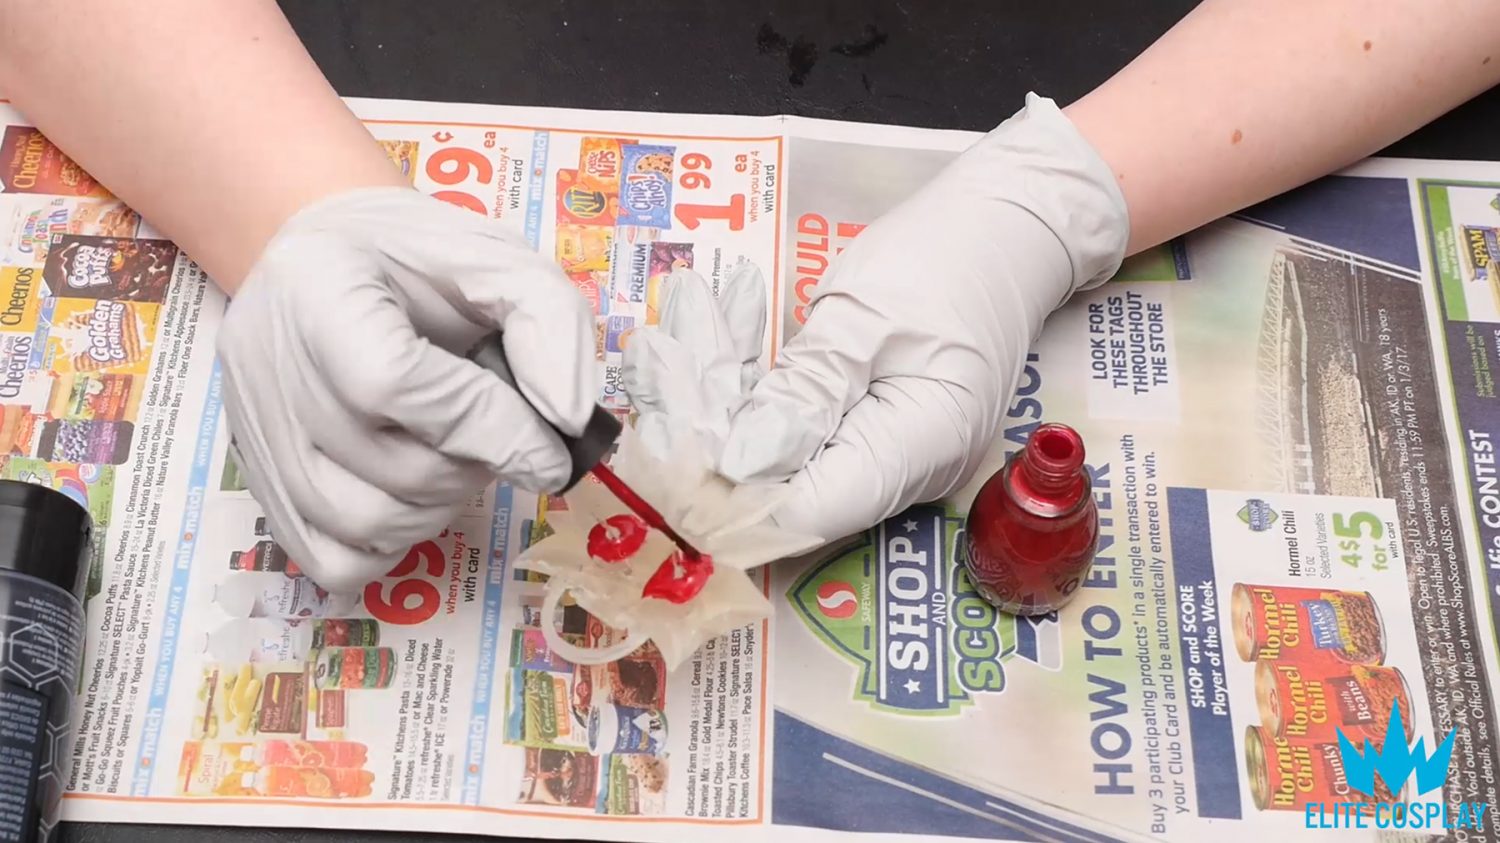
Once sanded and clean, it’s time to paint. I used the nail polish method for the LED area, to make the red stand out more.
After that, I painted a couple coats of black acrylic.
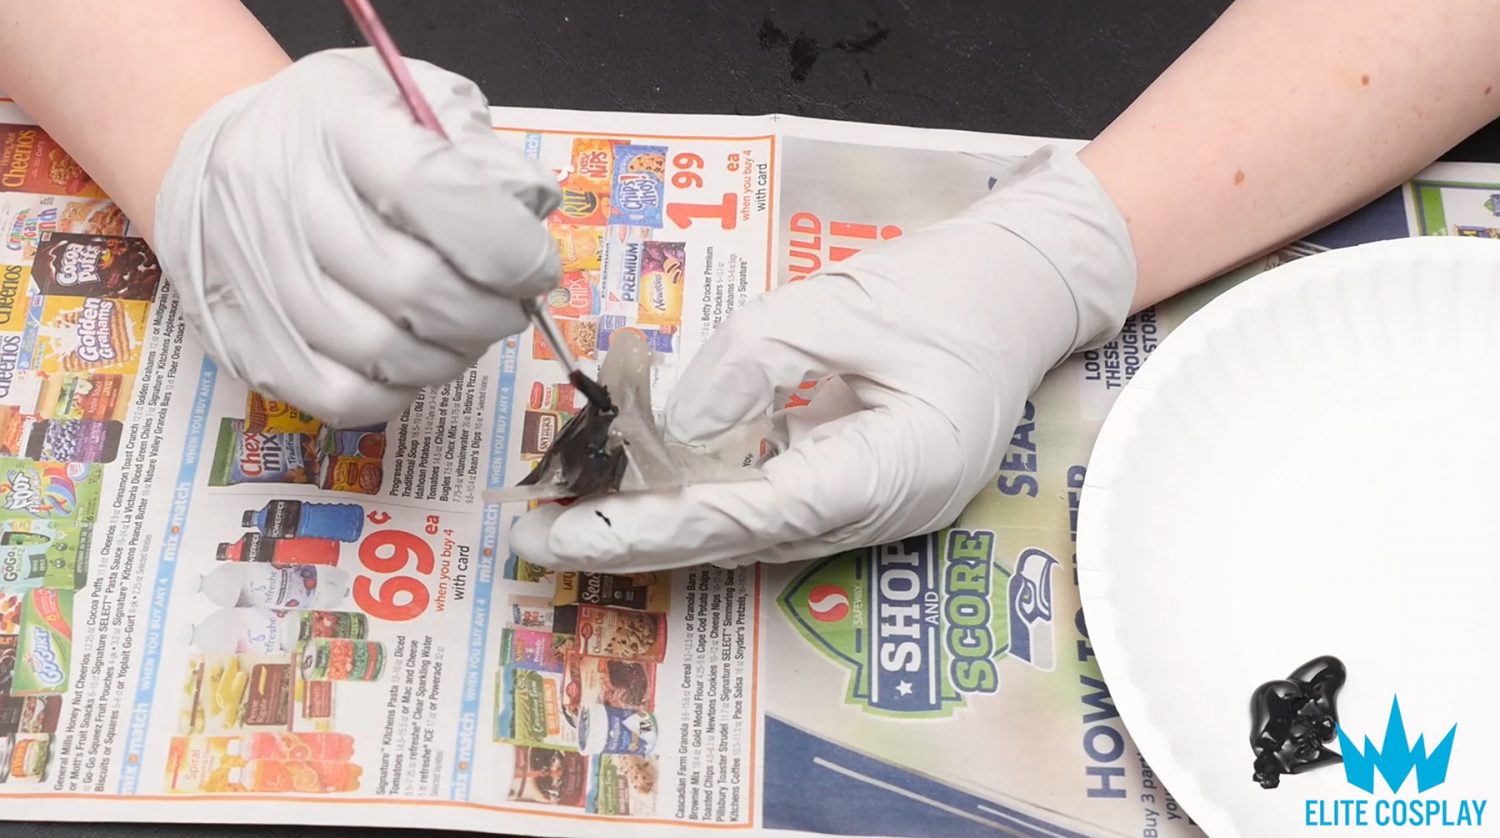
Then topped it off with some black Rub ‘n Buff to give it a cool sheen/texture.

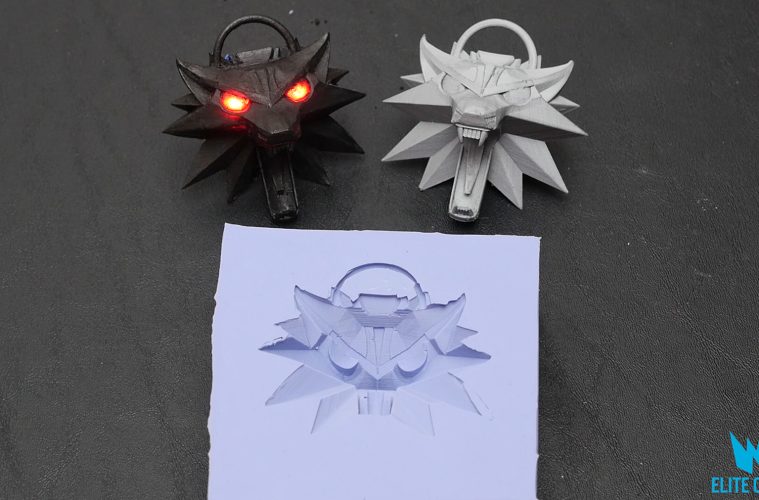
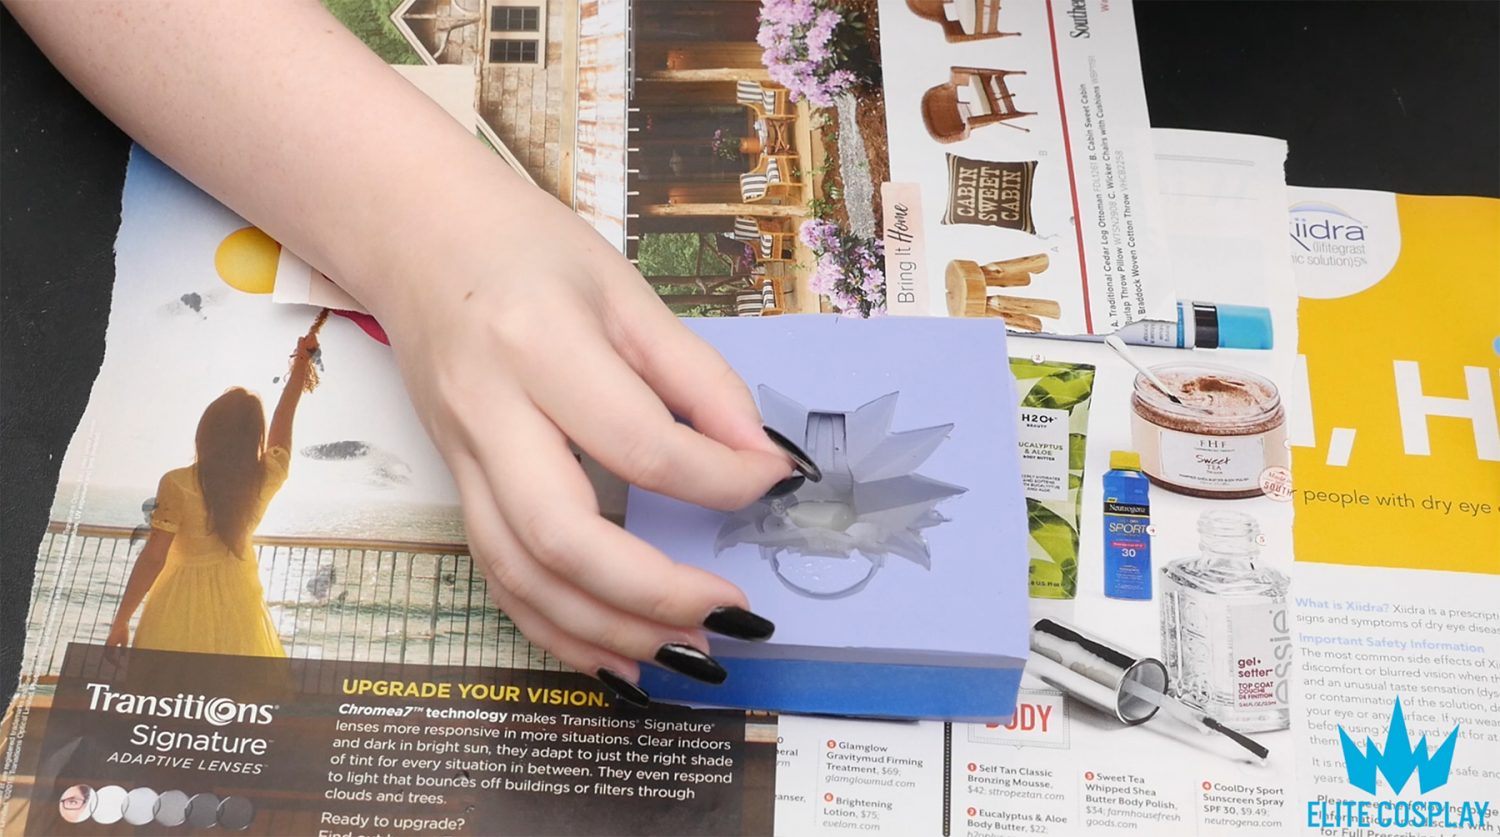
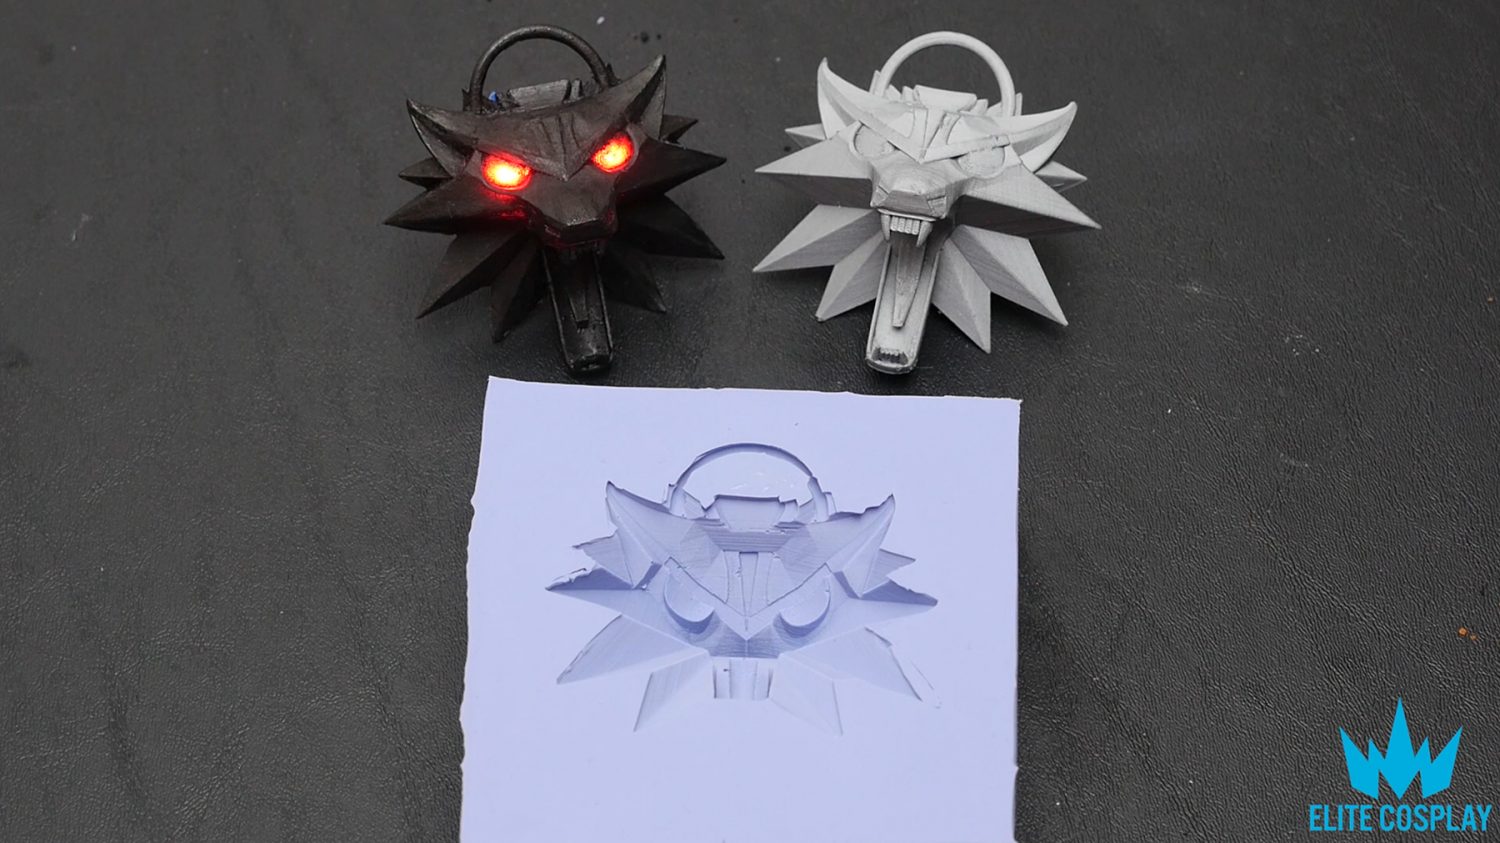
And it’s done! The 3D printed object is on the right, the resin cast on the left, and the silicone mold on the bottom.
If you have any questions I can try to answer them in comments! If you’d like to watch the video version, you can check it out here:
